Mastering Bushnell scope adjustments ensures optimal accuracy, utilizing features like resettable zeros and understanding MOA for precise targeting.
Proper setup is key!
Effective adjustment relies on correctly mounting the scope, initial bore-sighting, and understanding parallax for various shooting distances.
This guide details how to fine-tune your Bushnell scope, covering windage, elevation, and focusing techniques for consistent, reliable results.
Understanding the Need for Adjustment
Rifle scope adjustments are rarely a “one-and-done” process. External factors like atmospheric conditions, changes in ammunition, and even temperature fluctuations significantly impact a bullet’s trajectory.
Therefore, consistent accuracy demands periodic adjustments to your Bushnell scope.
Initial adjustments are crucial after mounting, ensuring the scope aligns with the firearm’s bore. Subsequent adjustments compensate for bullet drop at varying distances, and wind drift, especially during long-range shooting.
Furthermore, understanding your scope’s features, like the resettable zero, allows for quick returns to your preferred point of impact after making adjustments for different scenarios.
Neglecting these adjustments leads to missed shots and diminished precision.
Tools Required for Adjustment
While adjusting a Bushnell scope doesn’t demand a vast arsenal, a few essential tools enhance precision and convenience. Primarily, a stable shooting rest – bipod or sandbag – is vital for minimizing shooter movement and ensuring consistent shot groupings.
A quality set of screwdrivers, specifically those with bits that precisely fit the scope’s adjustment screws, prevents damage. A bore sight, either optical or laser, significantly speeds up the initial alignment process.
Finally, a notebook and pen for recording adjustments, along with a ballistics chart or app, are invaluable for tracking data and predicting bullet behavior at different ranges. These tools contribute to a systematic and accurate adjustment process.
Preparing for Adjustment
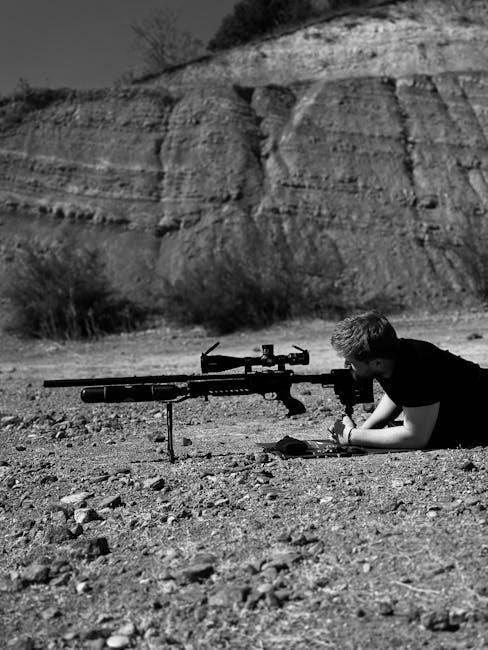
Prioritize firearm safety, secure scope mounting, and initial bore-sighting for a solid foundation. These steps ensure accurate adjustments and reliable performance during sighting-in.
Safe Handling of Firearms
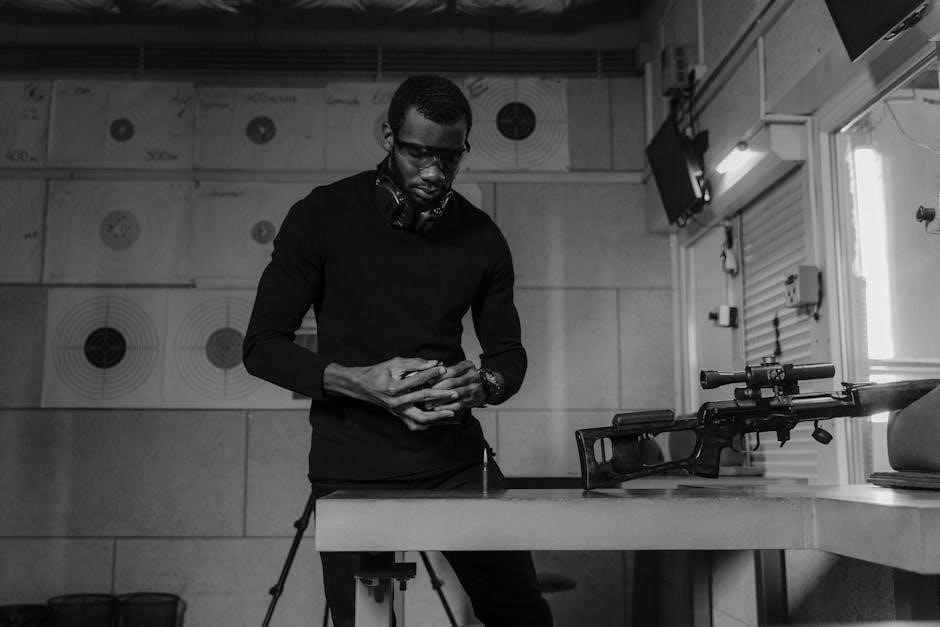
Before commencing any scope adjustment, unwavering firearm safety is paramount. Always treat every firearm as if it’s loaded, maintaining a safe direction of fire at all times.
Ensure the chamber is empty and verify this visually before mounting or dismounting the scope. Utilize appropriate eye and ear protection throughout the adjustment process.
Never work on a firearm while under the influence of drugs or alcohol. Familiarize yourself with your firearm’s manual and adhere to all safety guidelines.
Maintain a clear and safe shooting range, free from distractions, and always follow established range rules. Responsible gun handling is non-negotiable.
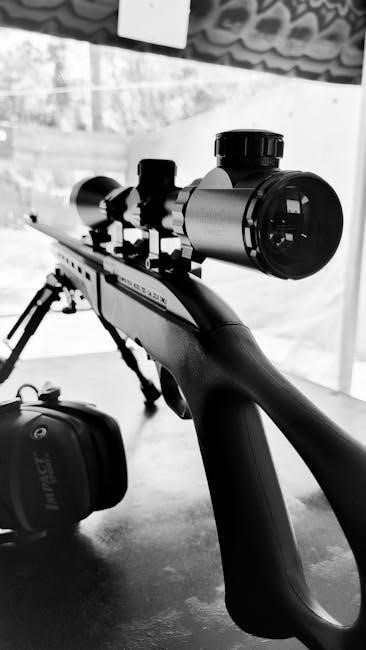
Mounting the Bushnell Scope Correctly
Proper scope mounting is foundational for accurate adjustments. Begin by ensuring compatibility between the scope, rifle, and mounting hardware – rings and base.
Securely attach the base to the rifle’s receiver, following the manufacturer’s torque specifications to prevent shifting during recoil. Carefully position the scope rings, ensuring they are aligned and level.
Gently place the Bushnell scope into the rings, avoiding over-tightening, which can induce stress and affect zero. Double-check all screws for tightness after initial mounting.
A stable, correctly mounted scope minimizes external influences, allowing for precise windage and elevation adjustments during the sighting-in process.
Initial Bore Sighting
Initial bore sighting dramatically reduces the adjustment range needed for zeroing, saving time and ammunition. Begin by safely unloading the firearm and securing it in a stable rest.
Utilize a bore sighter – either optical or laser – to align the reticle’s center with the rifle’s bore. Alternatively, remove the bolt and visually align the bore with a distant target.
Adjust the scope’s windage and elevation turrets to move the reticle towards the bore’s alignment. Aim for a close target, typically 25 yards, for initial adjustments.
This preliminary step establishes a close starting point, making subsequent fine-tuning adjustments more efficient and accurate during the live-fire zeroing process.
Adjusting the Windage and Elevation
Precise windage and elevation adjustments are crucial for accuracy; understand MOA, click values, and utilize the turrets for targeted corrections.
Mastering these adjustments, alongside the resettable zero feature, ensures your Bushnell scope delivers consistent, reliable performance at varying distances.
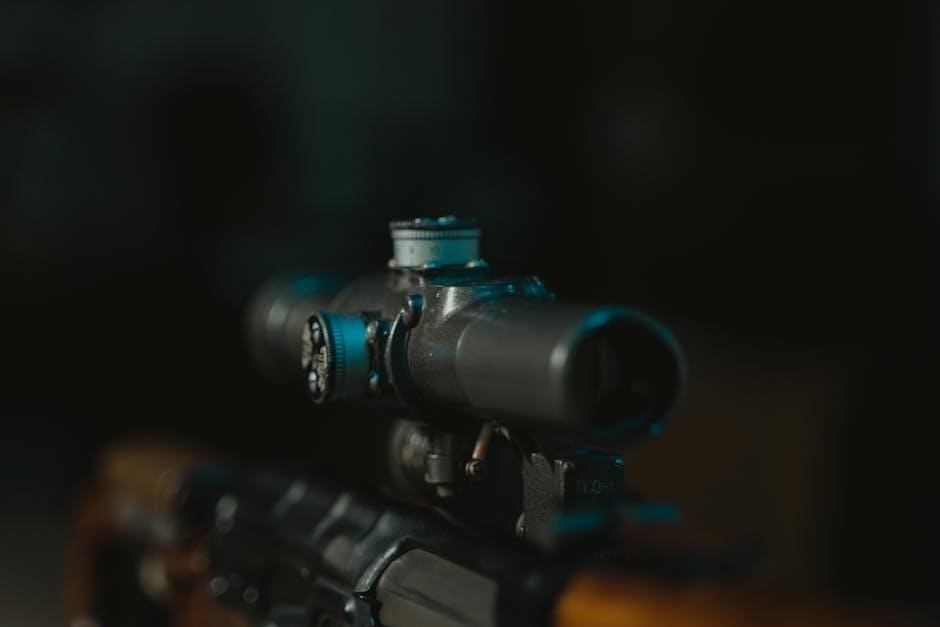
Identifying Windage and Elevation Turrets
Locating the windage and elevation turrets is the first step in accurate scope adjustment. These are typically prominent knobs on the scope’s body, clearly marked for their respective functions.
The elevation turret adjusts the bullet’s vertical impact point, correcting for distance and bullet drop. The windage turret controls horizontal impact, compensating for wind drift.
Bushnell scopes often feature locking mechanisms on these turrets to prevent accidental adjustments. Before making changes, ensure the turret is unlocked. Some Elite Tactical models include indexing marks to track rotations, aiding in precise adjustments and utilizing the resettable zero feature. Understanding their location and function is paramount for successful zeroing.
Understanding MOA and Click Value
MOA, or Minutes of Angle, is a standard unit for measuring angular deviation, crucial for precise scope adjustments. One MOA equates to roughly one inch at 100 yards, though it varies with distance.
“Click value” refers to how much the point of impact moves with each click of the adjustment turret. Common click values are 1/4 MOA, meaning four clicks move the bullet one inch at 100 yards.
Knowing your scope’s click value is vital. Bushnell scopes clearly indicate this value on the turret itself. Accurate adjustments require understanding the relationship between MOA, click value, and the desired point of impact correction.
Making Windage Adjustments
Windage adjustments correct for horizontal bullet drift caused by wind. Observe where your shots land relative to the target, noting if they’re consistently left or right.
To correct, use the windage turret – typically marked ‘W’ or ‘R/L’. Turning the turret to the right moves the impact point to the right, and left moves it left.
Count the clicks as you adjust, remembering your scope’s click value (e.g., 1/4 MOA per click). Small adjustments are best; shoot a follow-up group to assess the change and refine your windage zero.
Making Elevation Adjustments
Elevation adjustments correct for vertical bullet drop over distance. Observe your shots – are they consistently high or low relative to the target?
Utilize the elevation turret, usually marked ‘E’ or ‘U/D’. Rotating the turret upwards moves the impact point up, while downwards lowers it.
Like windage, track your clicks, referencing your scope’s click value; Begin with smaller adjustments, shooting a follow-up group to evaluate the impact. Remember to account for bullet drop at longer ranges, making incremental changes until you achieve your desired point of impact.
Focusing the Scope
Achieve a crisp reticle image by adjusting the diopter, then focus on targets at varying distances for optimal clarity and precise aiming.
Unlock the eyepiece and rotate it until the crosshairs appear sharp, ensuring a clear view for accurate shot placement.
Adjusting the Diopter for Clear Vision
The diopter adjustment compensates for your individual eyesight, ensuring a sharp, clear reticle without relying on corrective lenses. Begin by focusing on a distant, non-moving target.
Unlock the ring on the eyepiece – typically by rotating it counter-clockwise – and slowly adjust it while looking through the scope.
Continue adjusting until the reticle appears perfectly sharp and focused. Avoid attempting to focus on the target itself; concentrate solely on the reticle’s clarity.
Once sharp, lock the diopter ring in place. Don’t give your eye a chance to adjust during this process, making small, deliberate changes for best results.
Focusing on Different Distances
After setting the diopter, you’ll need to focus the scope for varying distances. Utilize the objective lens focus knob, typically located near the objective bell, to achieve clarity at different ranges.
Rotate the knob until the target snaps into sharp focus. Remember that changing distances requires refocusing; the scope doesn’t automatically adjust.
For scopes with adjustable parallax (discussed later), proper parallax adjustment is crucial alongside distance focusing for optimal accuracy.
Practice focusing quickly and accurately at common shooting distances to build muscle memory and improve your shooting performance.
Utilizing Bushnell’s Features
Explore resettable zero for quick returns to your preferred setting, parallax adjustment for range clarity, and first focal plane reticle benefits for consistent aiming.
Using the Resettable Zero Feature
The resettable zero feature on many Bushnell scopes simplifies returning to your established zero after making adjustments. Begin by zeroing your scope through standard adjustment procedures for windage and elevation. Once satisfied with your zero, loosen the turret knob slightly.
Next, carefully rotate the turret until the zero mark on the turret cap aligns precisely with the vertical line etched on the turret housing. Tighten the turret to secure this setting. This establishes a reference point; any subsequent adjustments are now relative to your original zero.
Remember to note the number of rotations made beyond the zero mark, as this helps in accurately returning to your zero if needed. This feature is invaluable for long-range shooting or when frequently changing distances.
Understanding and Adjusting Parallax
Parallax occurs when the target image isn’t focused on the same plane as the reticle, causing a shift in point of aim. Bushnell scopes with parallax adjustment feature a separate knob, typically located on the side or top. Understanding its function is crucial for accuracy.
To adjust, focus on a target at a specific distance. Rotate the parallax knob until the reticle appears sharp and remains stationary against the target background when moving your head slightly. This eliminates parallax error at that distance.
Different distances require re-adjustment. Some scopes have markings indicating yardage; others require you to visually confirm zero parallax at various ranges. Proper parallax adjustment ensures a precise shot.
First Focal Plane Reticle Considerations
Bushnell’s First Focal Plane (FFP) scopes have reticles that magnify with the target, meaning reticle markings remain consistent at all magnification levels. This differs from Second Focal Plane scopes where markings stay the same size.
When using an FFP scope, understand that your bullet drop and windage holds will appear smaller at lower magnifications and larger at higher magnifications. Accurate ranging and holdover require knowing your magnification setting.
Practice estimating holds at various magnifications to build familiarity. FFP reticles offer precise adjustments, but demand understanding of their scaling properties for consistent, long-range shooting.
Advanced Adjustment Techniques
Refine accuracy by adjusting for bullet drop at extended ranges and compensating for wind drift, utilizing precise windage and elevation adjustments.
Mastering these techniques demands practice and understanding external ballistics for consistent, long-distance precision shooting with your Bushnell scope.
Adjusting for Bullet Drop
Bullet drop is the vertical descent of a bullet due to gravity over distance, requiring adjustments to your scope’s elevation turret. At longer ranges, this drop becomes significant, impacting accuracy. To compensate, utilize your Bushnell scope’s elevation adjustments, increasing the MOA or clicks upwards.
The amount of adjustment needed depends on the bullet’s ballistic coefficient, velocity, and the distance to the target. Ballistic charts or apps can provide precise drop values. Begin with estimated adjustments and confirm with test shots, observing the point of impact.
Remember to document your adjustments for different distances, creating a personalized drop chart for your specific ammunition and rifle combination. Consistent practice is crucial for mastering bullet drop compensation.
Adjusting for Windage at Long Range
Wind significantly affects bullet trajectory, especially at extended ranges, necessitating windage adjustments on your Bushnell scope. Wind pushes the bullet off course, causing lateral deviation. Estimating wind speed and direction is paramount for accurate long-range shooting.
Use the windage turret to compensate, moving the reticle into the wind. A full-value wind (e.g., 10 mph) typically requires a substantial adjustment in MOA. Observe wind flags or mirage to refine your estimation.
Practice reading wind conditions and correlating adjustments with observed impacts. Documenting wind holds for various conditions builds experience and improves your ability to consistently hit long-range targets.

Confirming and Fine-Tuning Zero
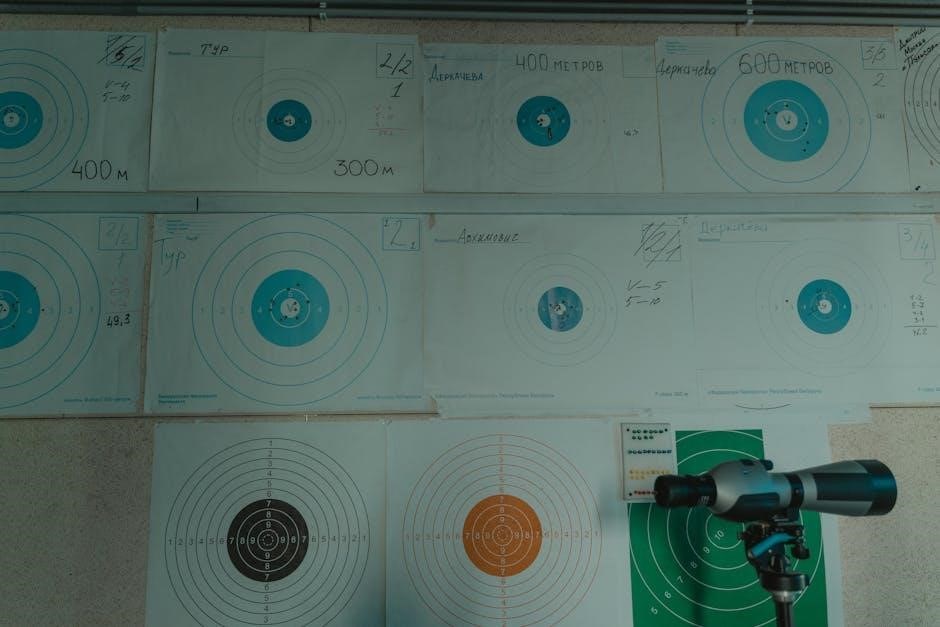
Shoot confirmation groups after adjustments to verify your zero, iteratively refining until the point of impact consistently matches your intended point of aim.
Shooting Confirmation Groups
After making any adjustments to your Bushnell scope, shooting confirmation groups is crucial. Fire a series of shots – typically three to five – at your target, aiming for the exact same point each time.
Carefully observe the grouping pattern. Are the shots clustered tightly together, or are they scattered? The size and location of the group will reveal if further adjustments are needed.
Measure the distance between the center of the group and your intended point of aim. This measurement will guide your next adjustment, whether it’s windage or elevation. Remember to document each adjustment and the resulting group for a systematic approach.
Repeat this process until your groups are consistently centered on your target.
Iterative Adjustment Process
Zeroing a Bushnell scope isn’t a one-time fix; it’s an iterative process. After shooting a confirmation group, analyze the point of impact (POI) relative to your aim. Make a small adjustment – typically ¼ or ½ MOA – based on the observed deviation.
Avoid large adjustments, as they can easily overshoot the mark. Document each adjustment made (windage and elevation) and the corresponding POI shift. This log helps track progress and prevents repeating mistakes.
Shoot another confirmation group after each adjustment. Continue this cycle of shooting, analyzing, and adjusting until your groups consistently land on your desired point of aim. Patience and precision are key!
Troubleshooting Common Issues
Sticking turrets can often be resolved with a gentle cleaning, while inconsistent zero may require re-mounting or checking for loose connections.
Sticking Turrets
Experiencing sticking turrets on your Bushnell scope can be frustrating, hindering precise adjustments. Often, this issue arises from dirt, debris, or old lubricant accumulating within the turret mechanism. Begin by attempting gentle manipulation of the turret, avoiding excessive force which could cause damage.
If gentle movement doesn’t resolve the issue, carefully disassemble the turret (refer to your scope’s manual for specific instructions). Clean all internal components with a soft cloth and a suitable solvent, removing any contaminants. Apply a small amount of quality gun oil or lubricant specifically designed for precision optics to the moving parts before reassembling. Ensure proper reassembly to avoid further complications.
Inconsistent Zero
An inconsistent zero – where your scope’s point of impact shifts between shooting sessions – is a common concern. This often stems from improper mounting, loose screws on the scope rings or base, or even changes in the firearm’s bedding. Thoroughly inspect all mounting hardware, ensuring everything is securely tightened.
Re-verify your initial bore-sighting procedure and confirm proper eye relief and scope focus. Environmental factors like temperature changes can also subtly affect zero, so consider this. If the problem persists, systematically re-zero the scope, shooting multiple confirmation groups and documenting each adjustment. Consider professional gunsmithing assistance if issues remain.
Bushnell Scope Models and Variations
Elite Tactical and Yardage Pro series feature unique adjustment characteristics; understanding these differences is crucial for precise zeroing and maximizing performance.
Specific models may have resettable zero stops or differing MOA click values, impacting the adjustment process for optimal accuracy.
Elite Tactical Series Adjustments
Bushnell’s Elite Tactical series, like the 6-36×56 XRS3, boasts locking windage and elevation turrets, preventing accidental adjustments during operation. These scopes often include a resettable zero feature, allowing users to align the zero mark with the turret housing line after initial zeroing.
This simplifies returning to zero, even after multiple rotational adjustments. The XRS3 also features fully-multi coated optics and an EXO Barrier lens coating for enhanced clarity. Remember to carefully follow the manual’s instructions for proper mounting and parallax adjustment to maximize the scope’s potential.
Understanding the click value (MOA) is vital for precise adjustments, especially at longer ranges.
Yardage Pro Series Adjustments
The Bushnell Yardage Pro series, such as the 4-12×42 model, focuses on providing reliable ranging and adjustment capabilities for hunters and shooters. These scopes often prioritize ease of use alongside accuracy, making them suitable for varied field conditions.
While specific features vary between models, understanding the windage and elevation turret functions remains crucial. Proper bore-sighting is essential before making any adjustments, ensuring a solid starting point for zeroing.
Pay attention to the scope’s magnification settings and how they interact with the reticle for accurate shot placement at different distances.
Maintaining Your Bushnell Scope
Regular cleaning with appropriate solutions and proper storage protect your investment, ensuring continued accuracy and reliable performance of your Bushnell scope.
Protecting the lenses and internal components from dust, moisture, and impact is vital for long-term functionality and consistent adjustments.
Cleaning and Lubrication
Maintaining a clean Bushnell scope is crucial for optimal performance. Use a lens cleaning kit specifically designed for optics; avoid harsh chemicals or abrasive materials.
Gently remove dust and debris with a blower or soft brush before applying lens cleaner to a microfiber cloth. Wipe lenses in a circular motion, avoiding excessive pressure.
For stubborn residue, a small amount of isopropyl alcohol can be used, but ensure it evaporates completely. Avoid disassembling the scope for cleaning, as this can affect its internal alignment.
Lubrication is generally not required for Bushnell scopes, but a tiny amount of specialized gun oil can be applied to the adjustment turrets if they become stiff. Avoid over-lubrication, as it can attract dust and grime.
Proper Storage
When not in use, store your Bushnell scope in a protective case to shield it from dust, moisture, and accidental impacts. A hard case offers the best protection during transport.
If a case isn’t available, cover the scope with a breathable cloth to prevent scratches and keep it clean. Avoid storing the scope in direct sunlight or extreme temperatures.
Humidity can cause internal fogging and corrosion, so consider using desiccant packs within the storage case, especially in damp environments. Ensure the scope is dry before storing it.
Remove batteries from scopes with illuminated reticles to prevent corrosion if the scope will be stored for an extended period. Regularly inspect the scope for any signs of damage or deterioration.
Resources for Further Learning
Explore Bushnell’s official website for manuals and support. Online forums like Snipers Hide offer valuable insights and community discussions on scope adjustments.
Bushnell’s Official Website
Bushnell’s website serves as a primary resource for comprehensive information regarding their scope products, including detailed adjustment instructions. You’ll find downloadable manuals specific to your scope model, covering everything from initial bore-sighting procedures to advanced parallax adjustments.
The site often features helpful articles and FAQs addressing common troubleshooting issues, such as sticking turrets or inconsistent zero. Furthermore, Bushnell provides contact information for their customer support team, offering direct assistance with any questions or concerns you may encounter during the adjustment process.
Accessing these resources ensures you have the most accurate and up-to-date guidance for maximizing the performance of your Bushnell scope.
Online Forums and Communities
Engaging with online forums, like Snipers Hide, provides a valuable platform to learn from experienced shooters regarding Bushnell scope adjustments. These communities often host detailed discussions on specific models, sharing practical tips and troubleshooting solutions.
You can find advice on interpreting indexing marks on elevation knobs, understanding resettable zero features, and refining adjustments for long-range accuracy.
These forums are excellent for seeking guidance on unique scenarios or receiving peer feedback on your adjustment process, fostering a collaborative learning environment for all skill levels.
